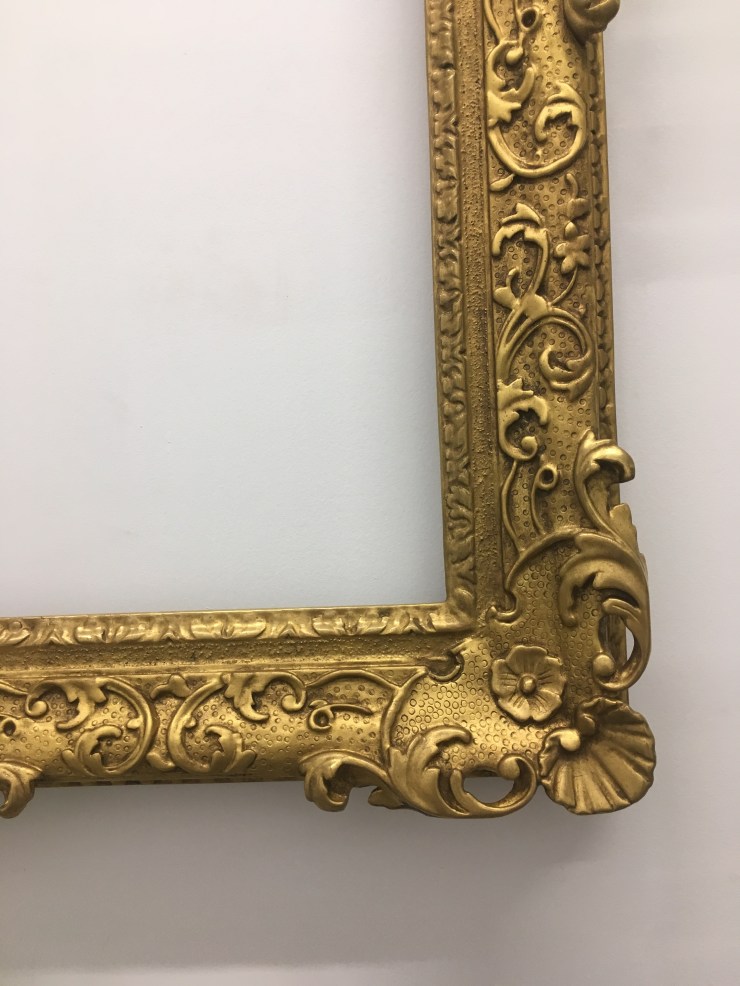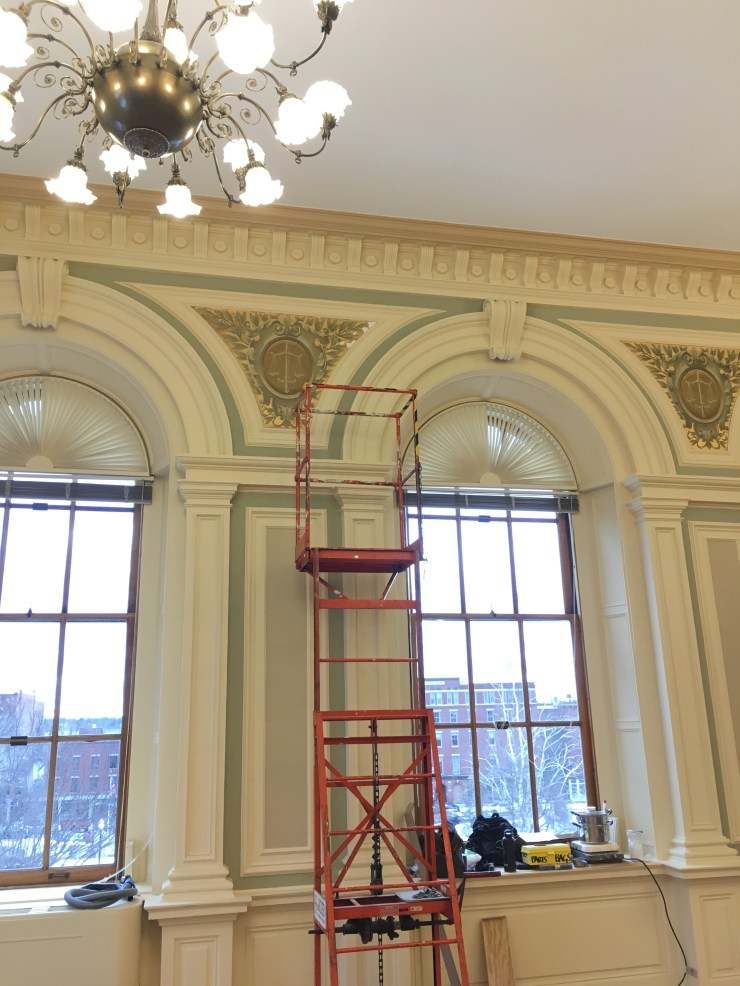
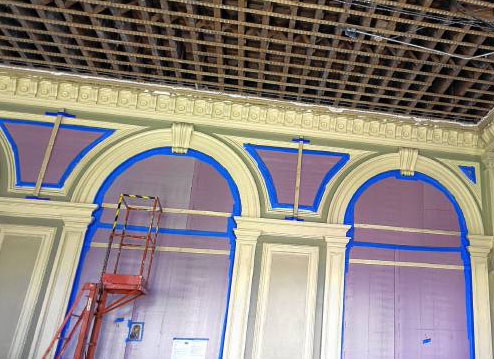
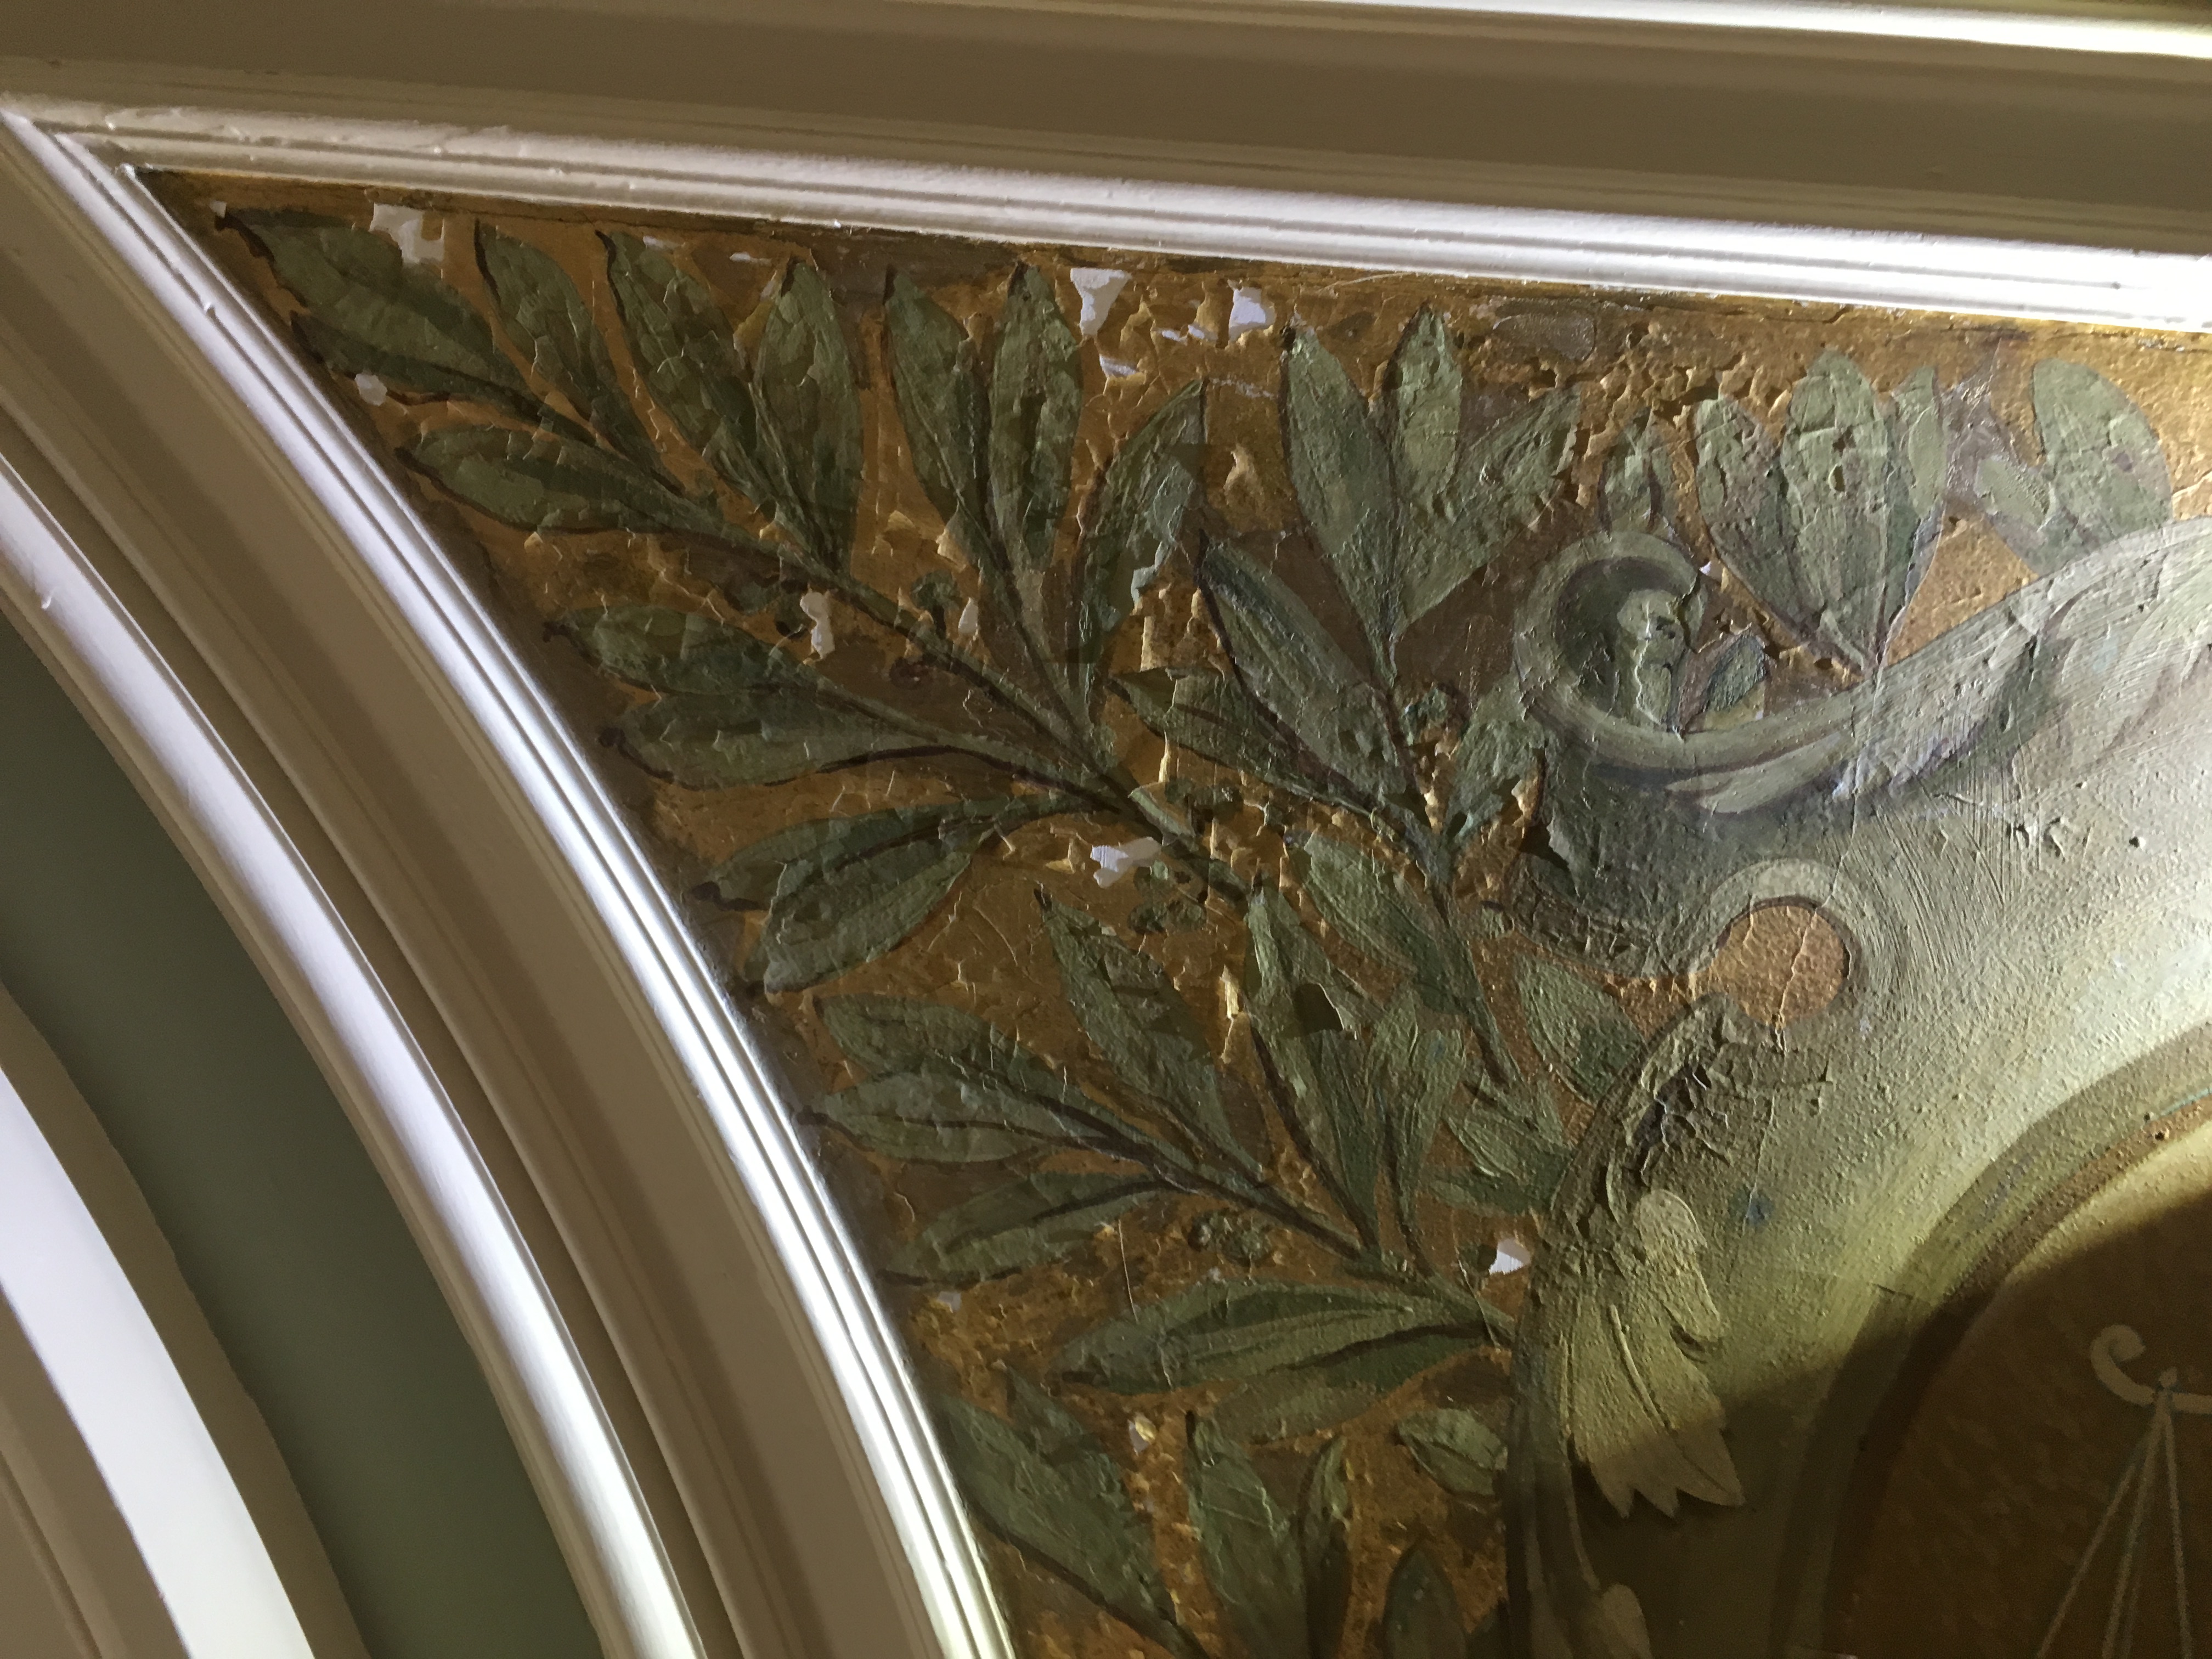
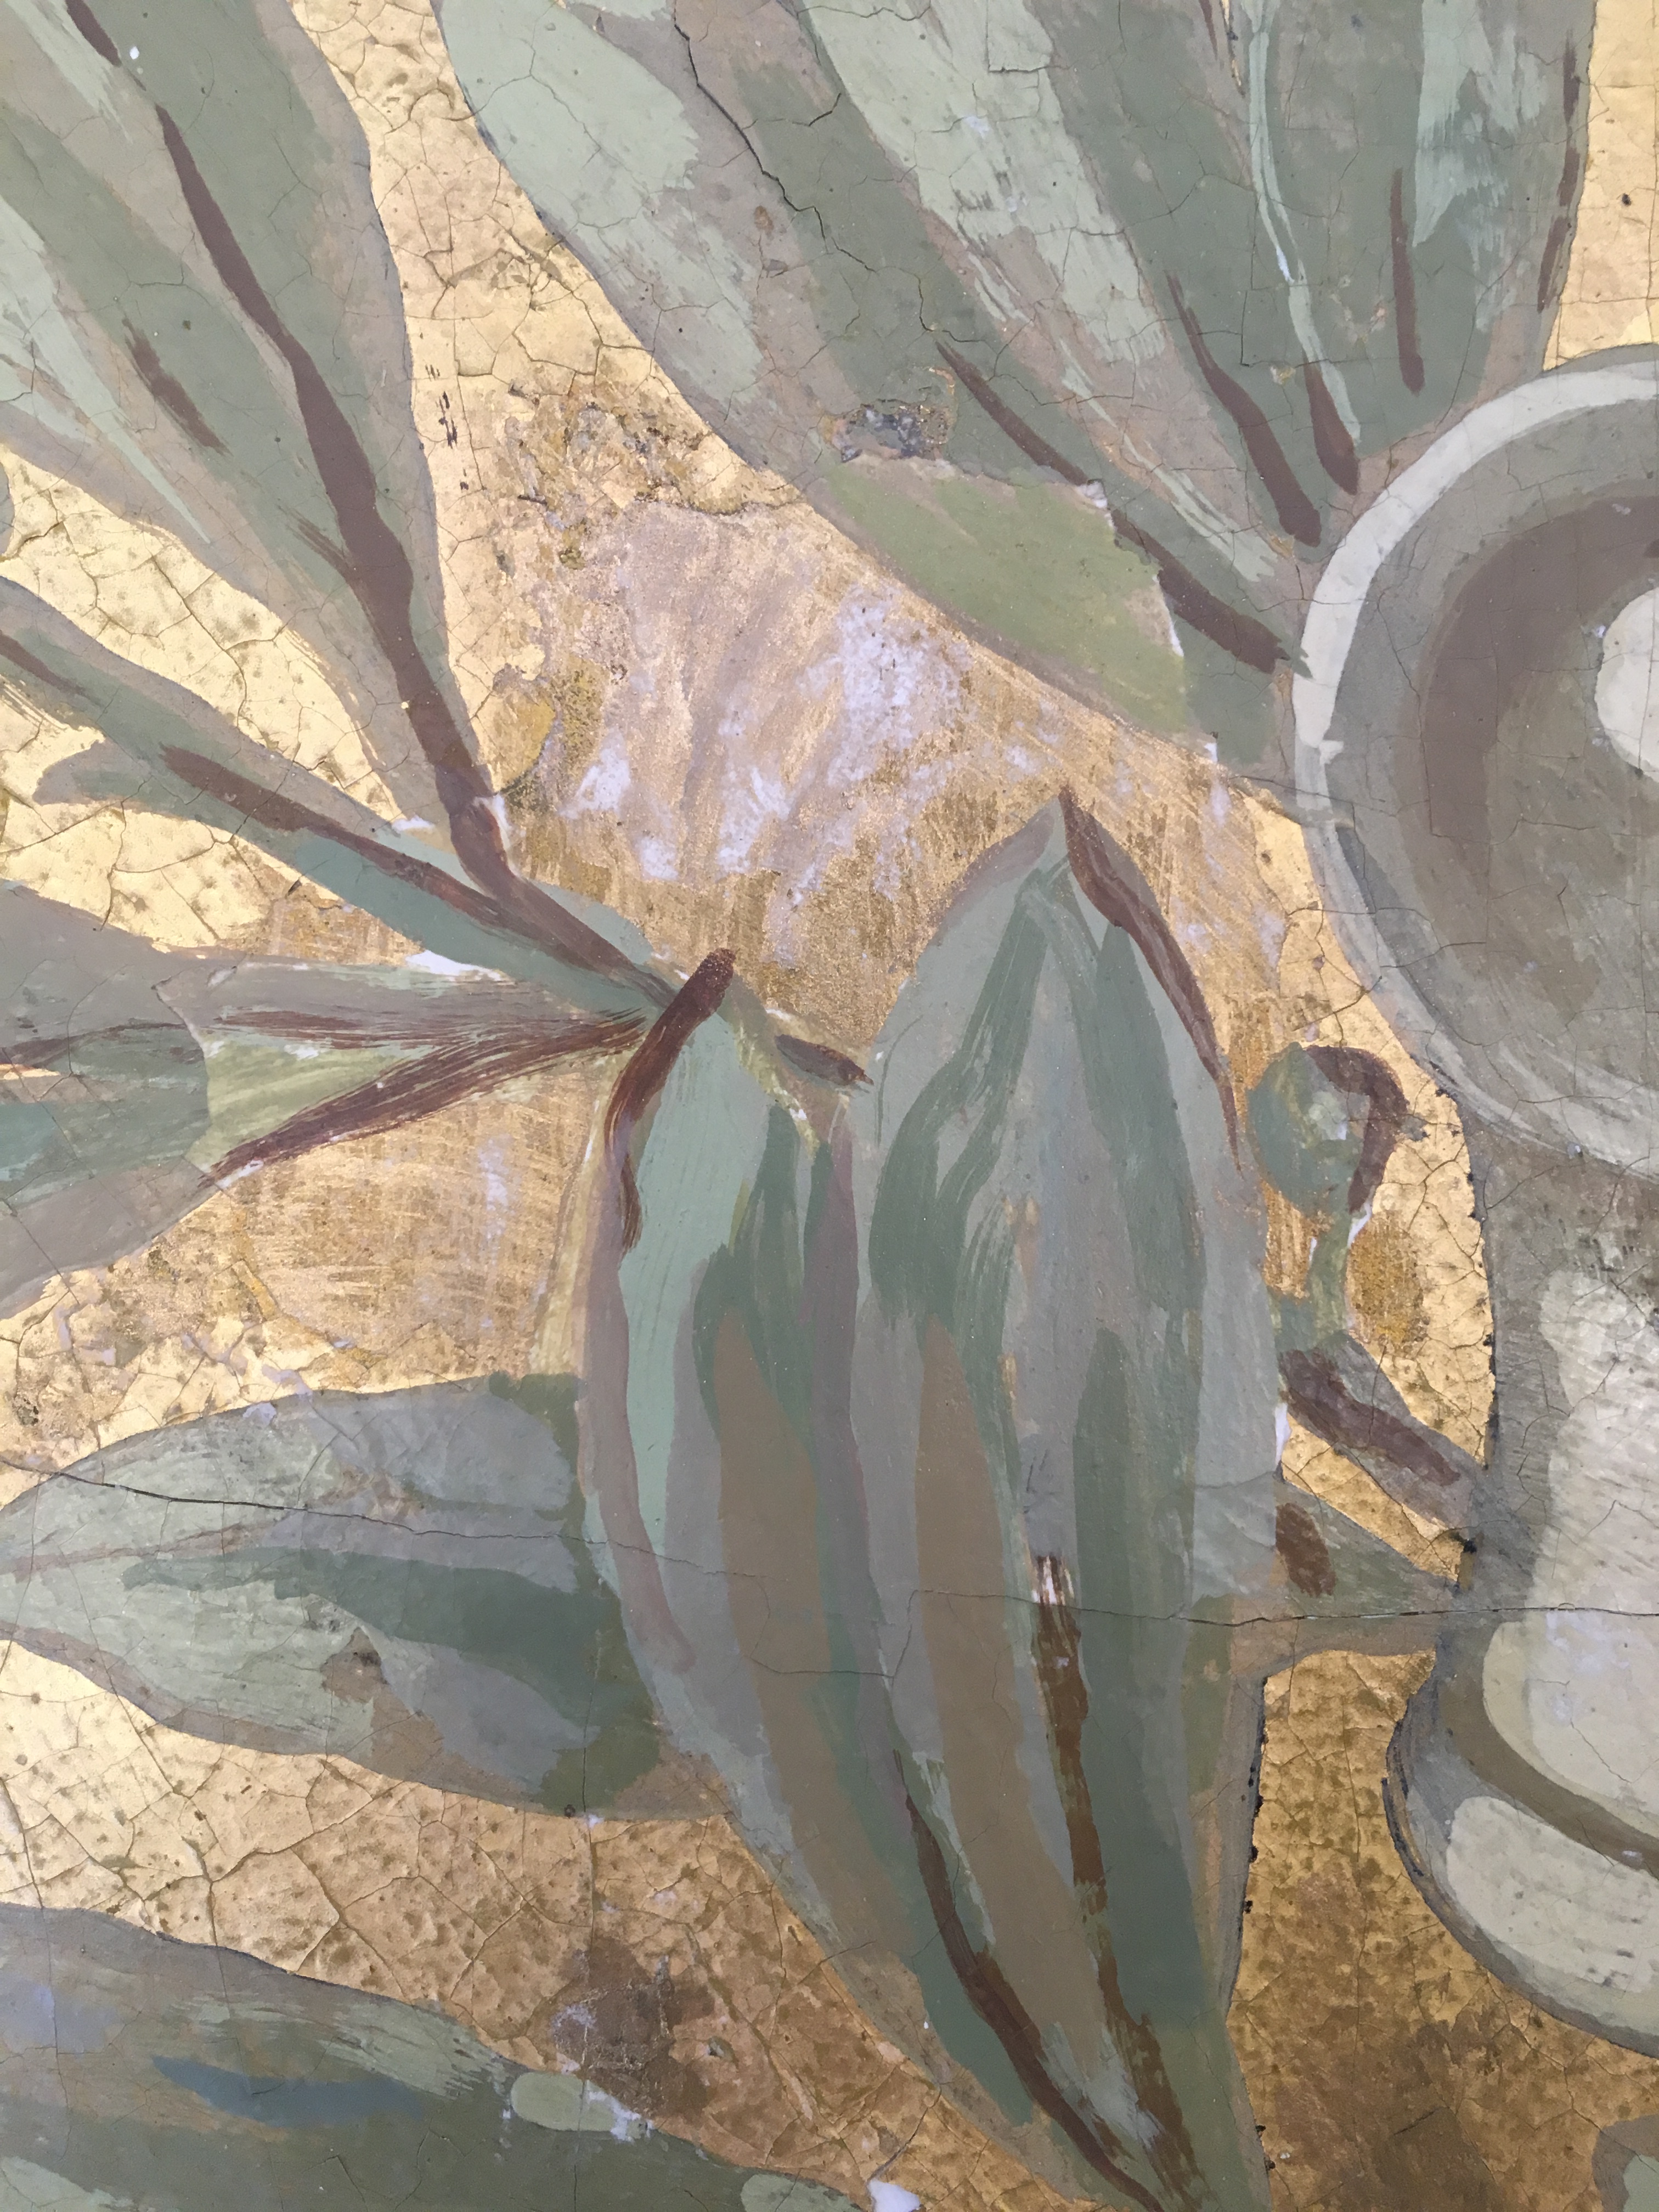
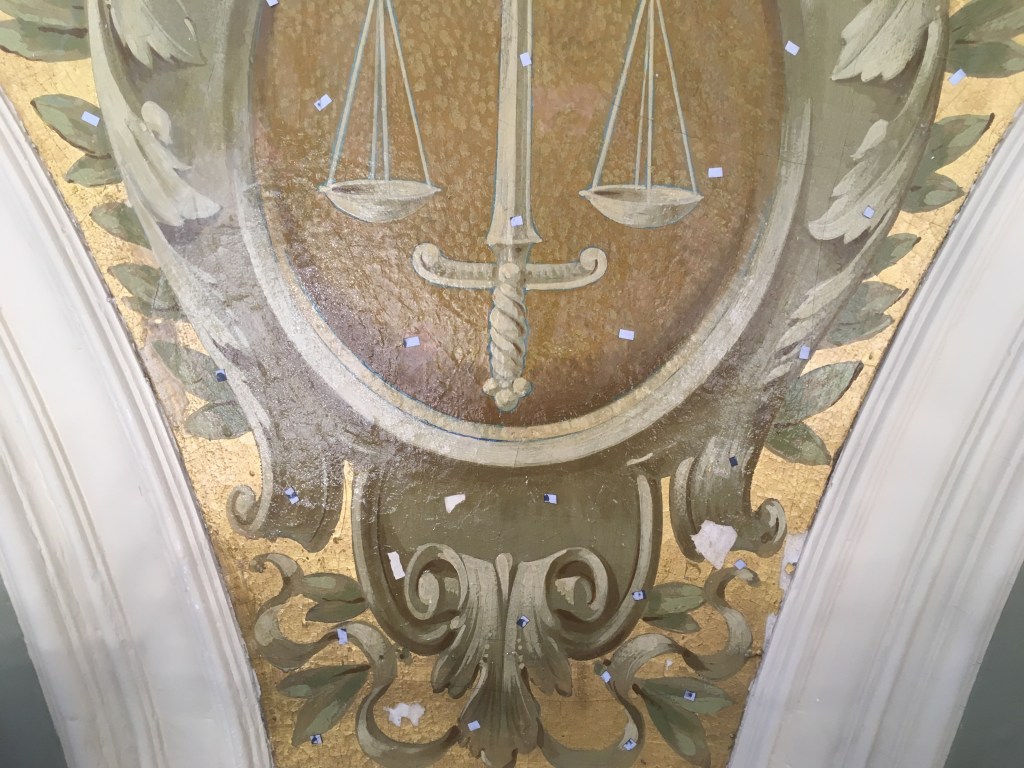
As part of the 2019 restoration of the New Hampshire State House Senate Chamber I was asked to restore the decorative spandrels which run the perimeter of the room. The spandrels were individually gilded and painted with a tromp-l’oeil motifs of the sword and scales of justice (the room had originally housed the NH Supreme Court). On the exterior walls they ran between the elegant arched windows. On the interior walls they were spaced between a series of murals by Abbott Thayer which were being carefully restored by Martha Cox of Great Works Painting Restoration.
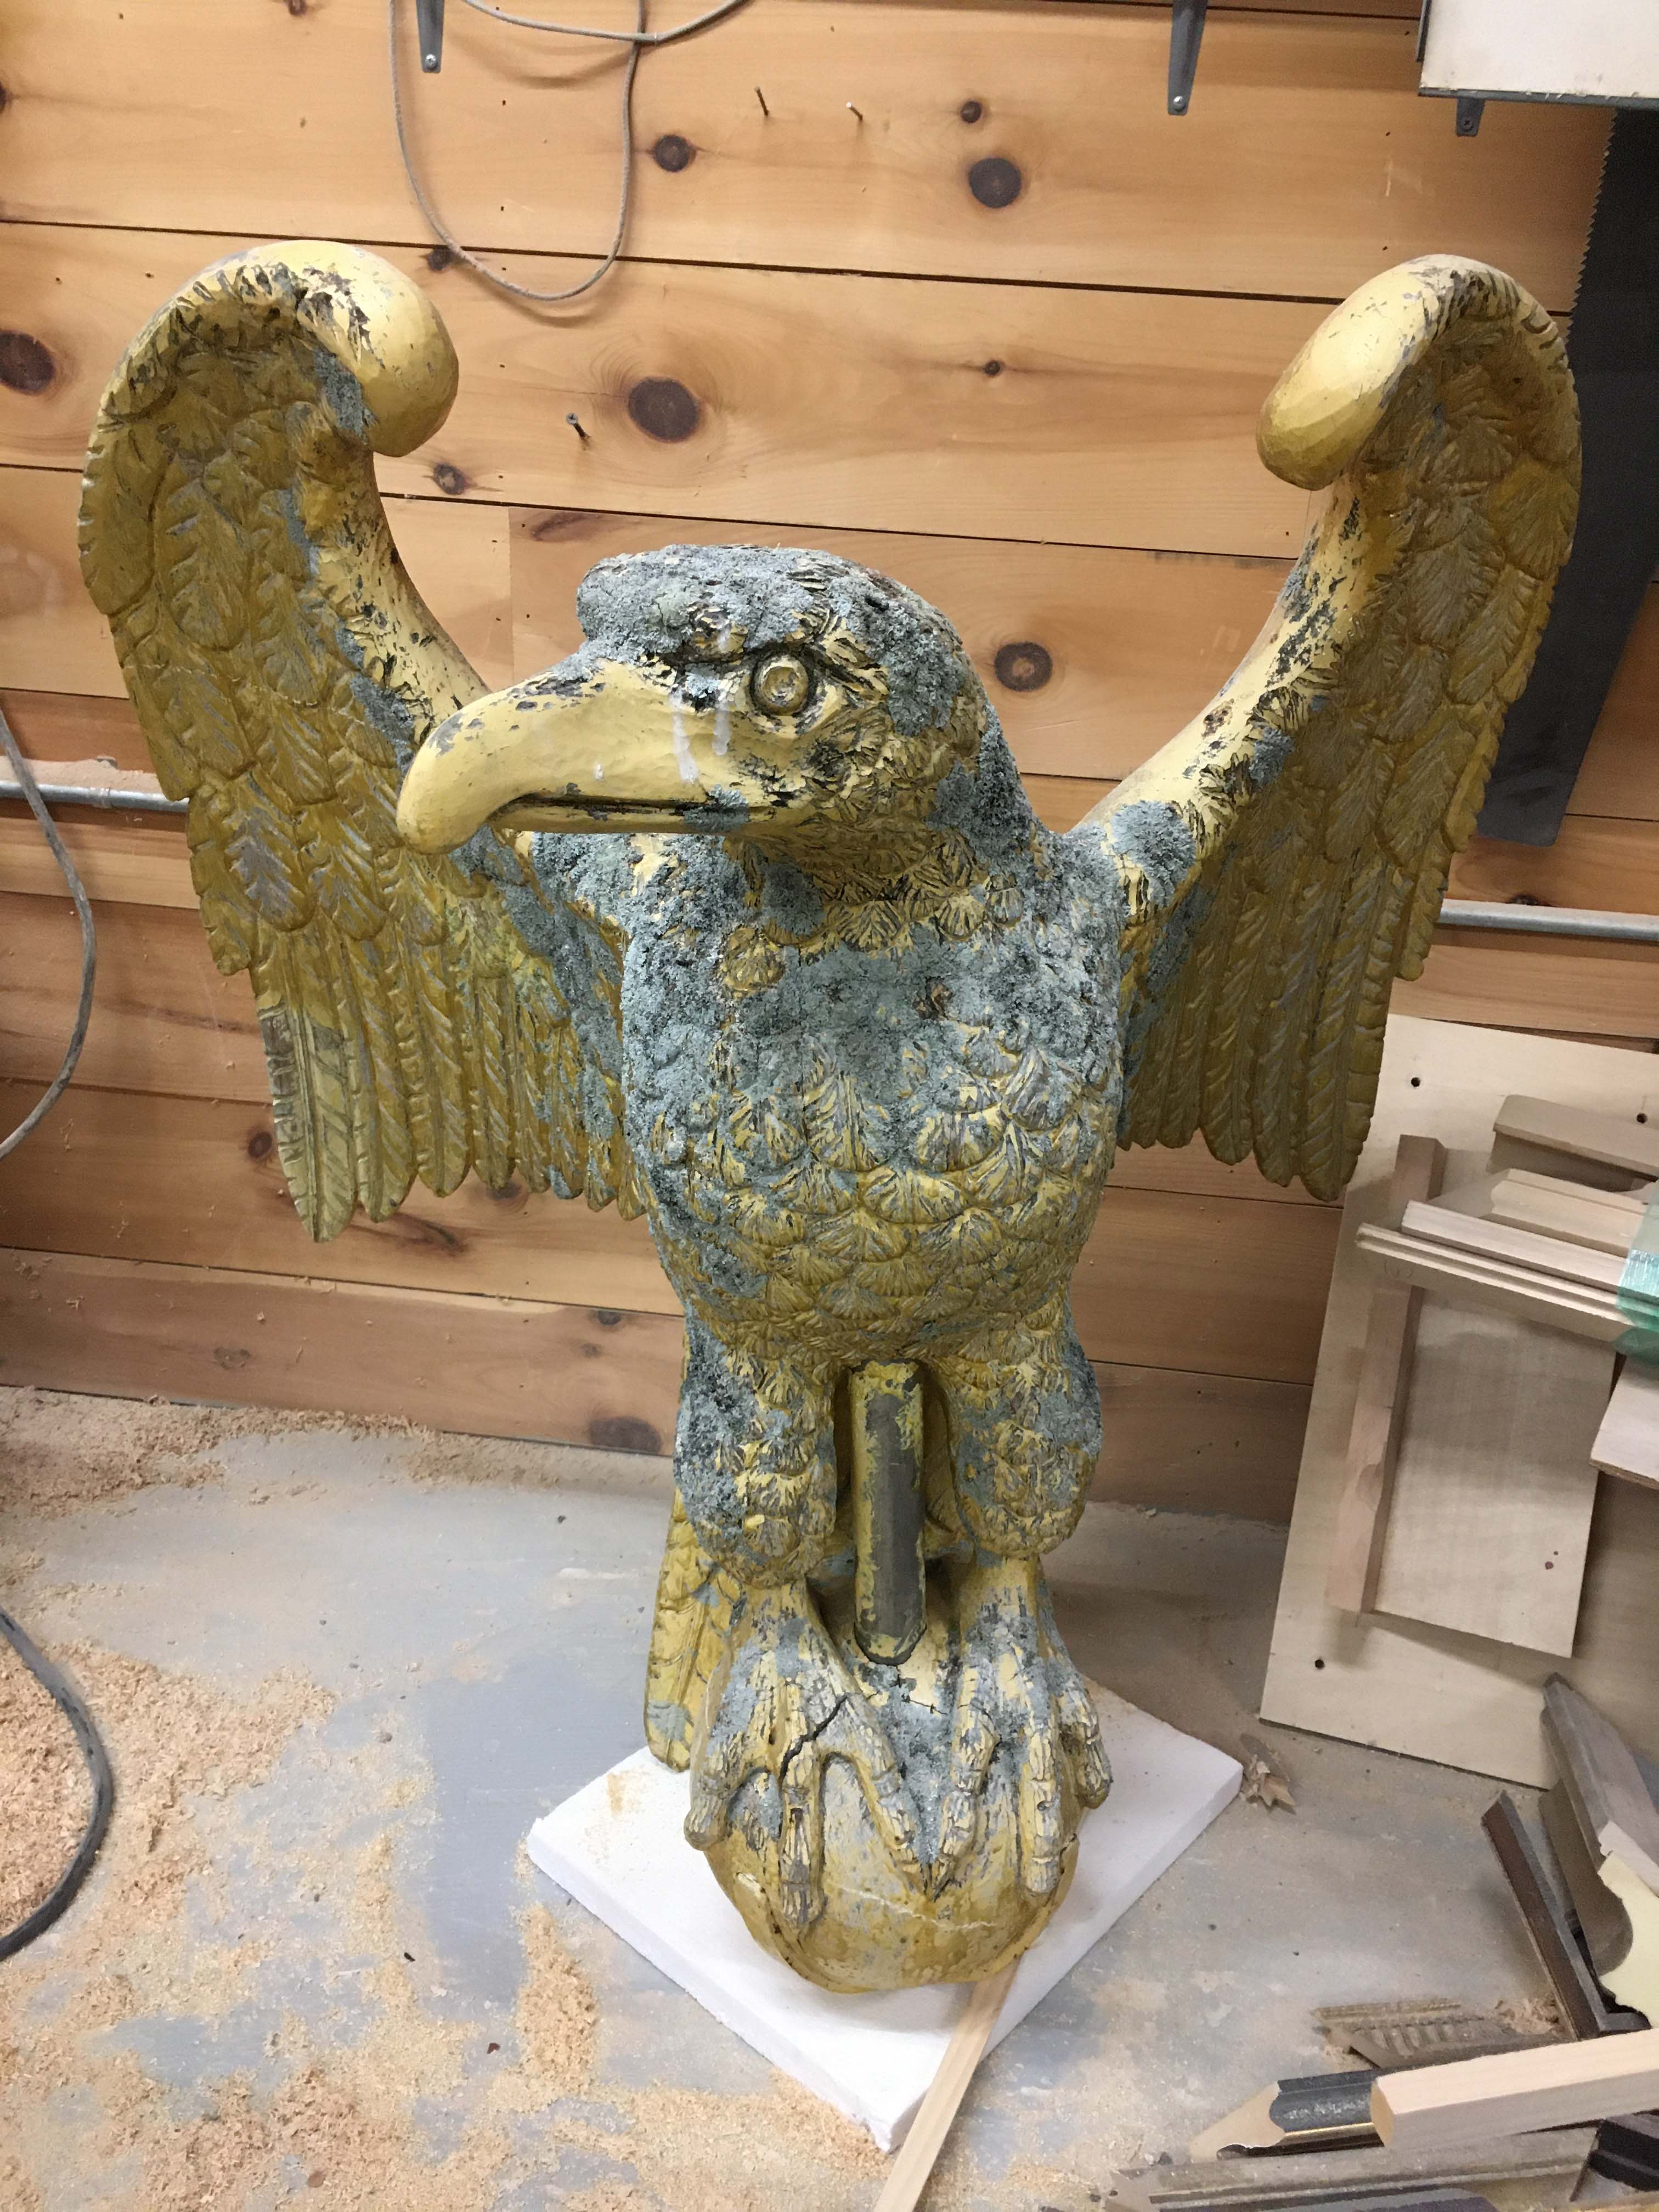
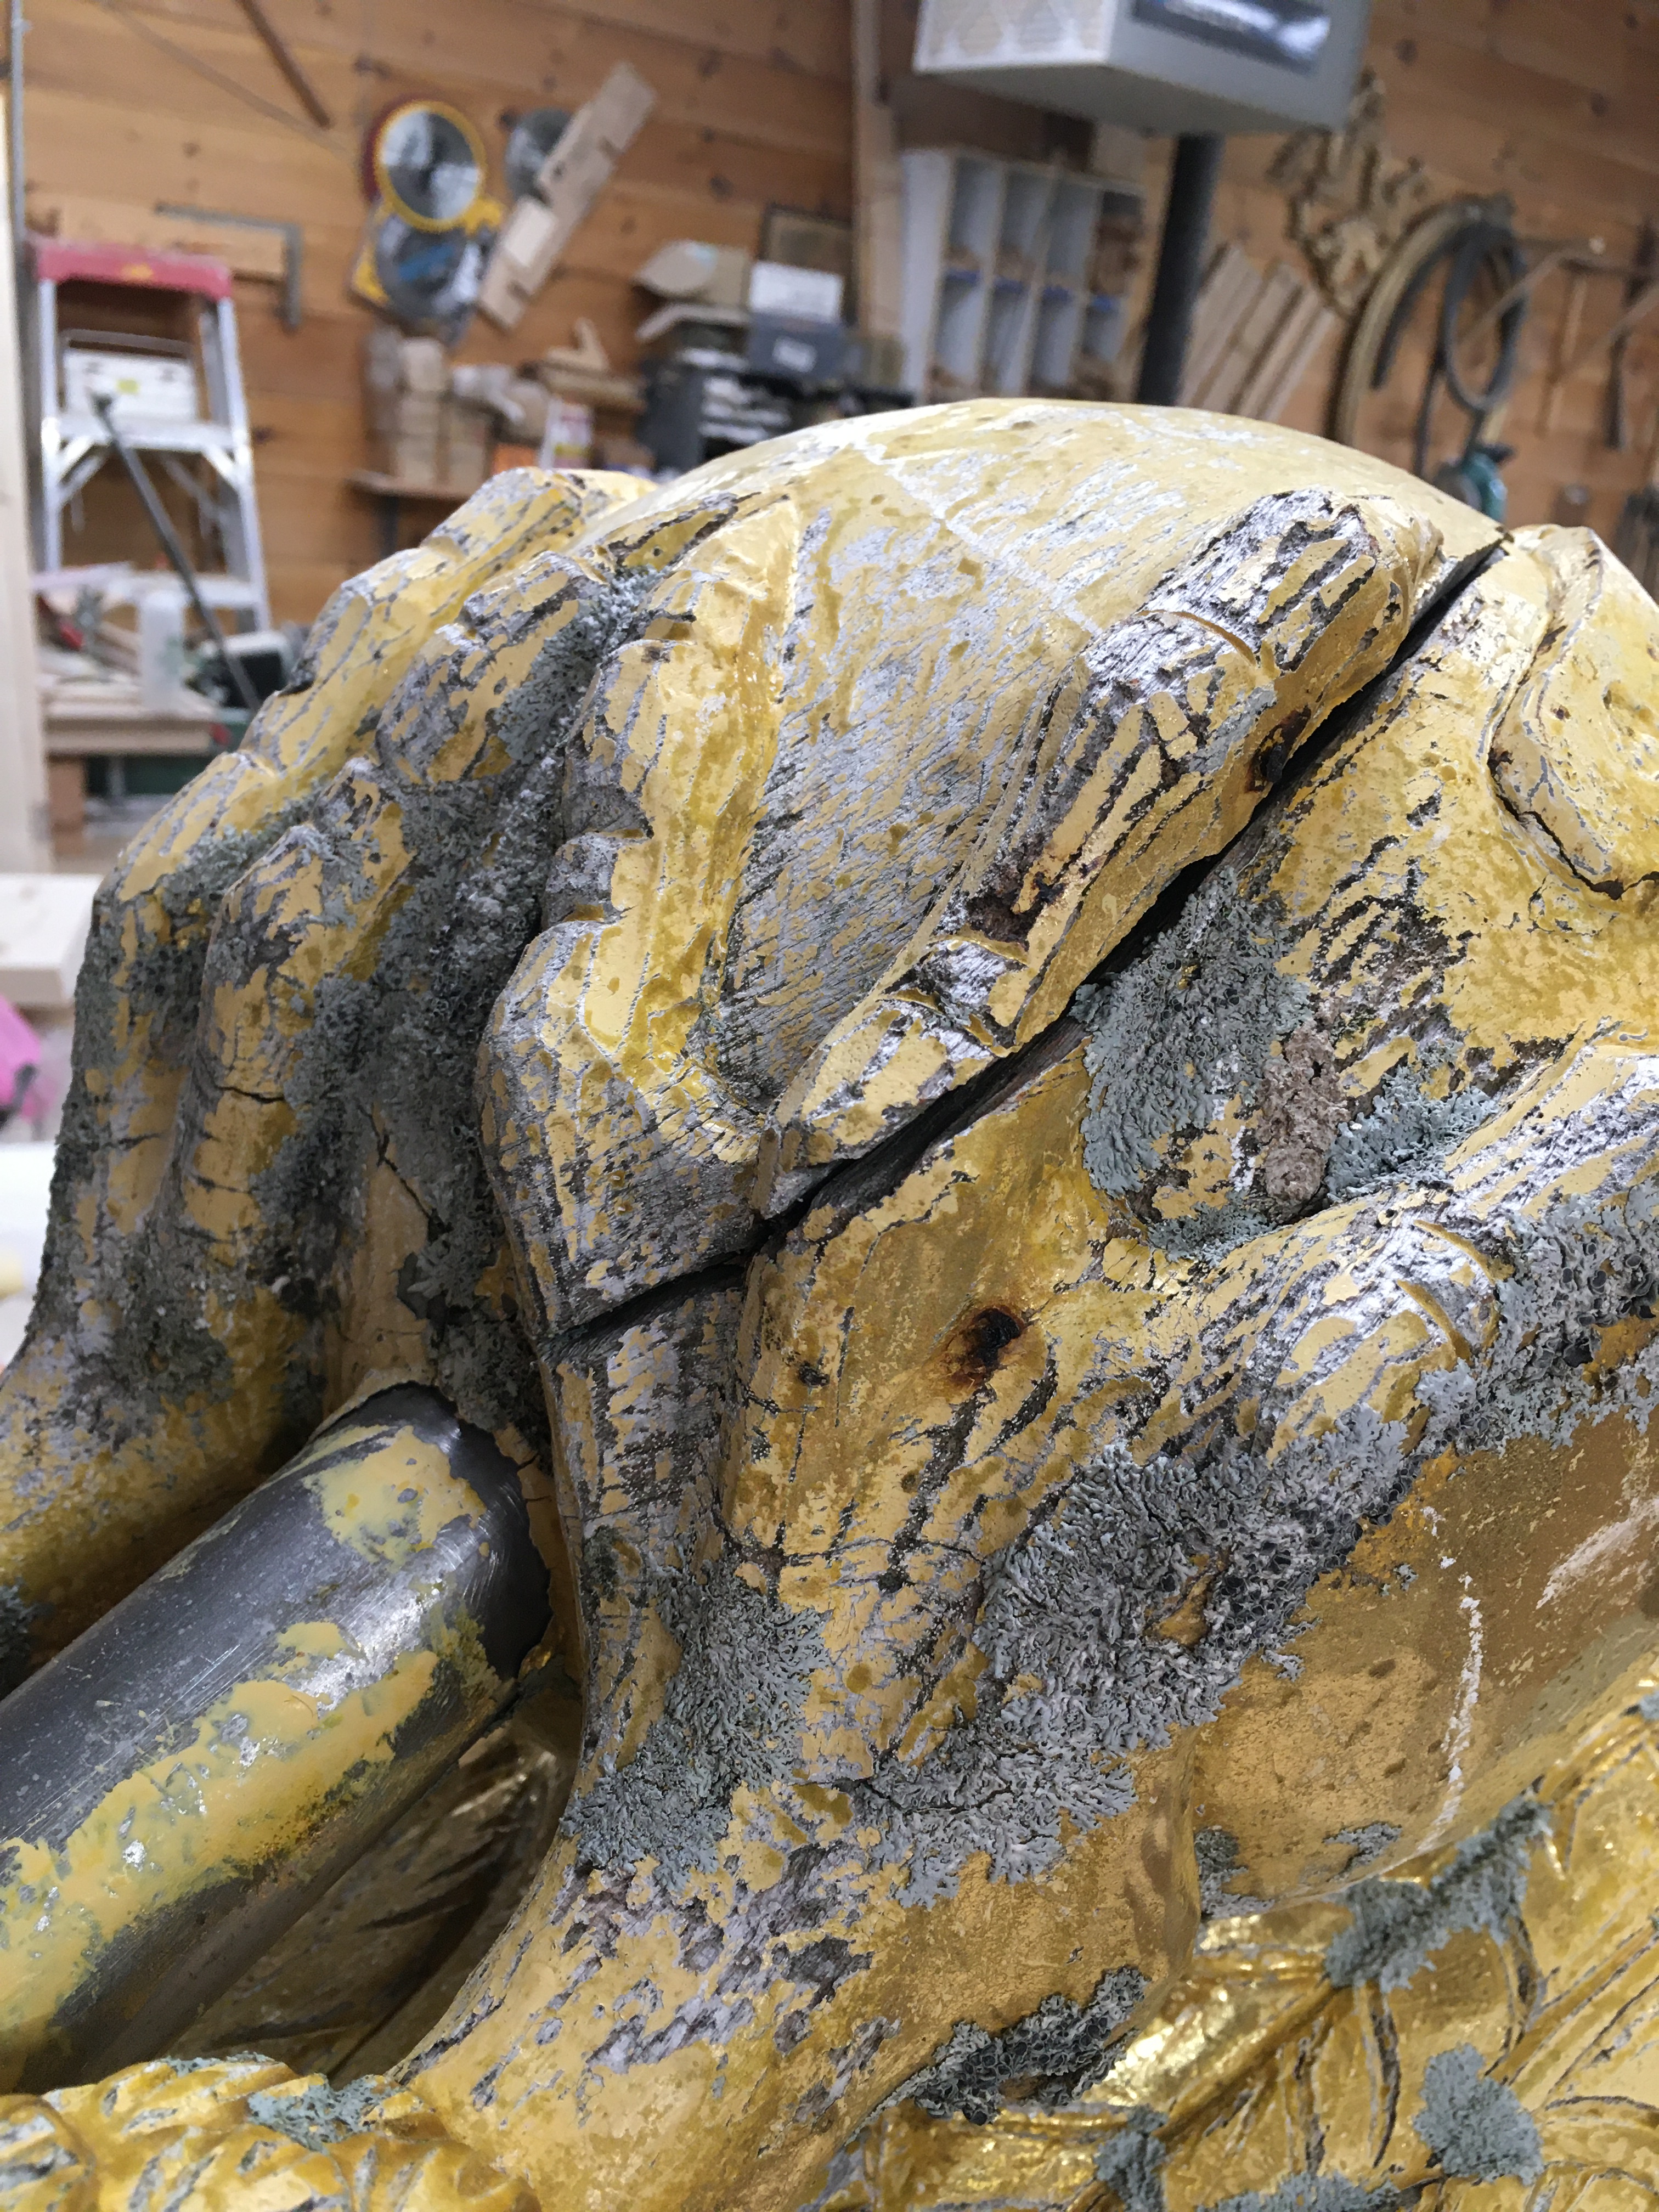
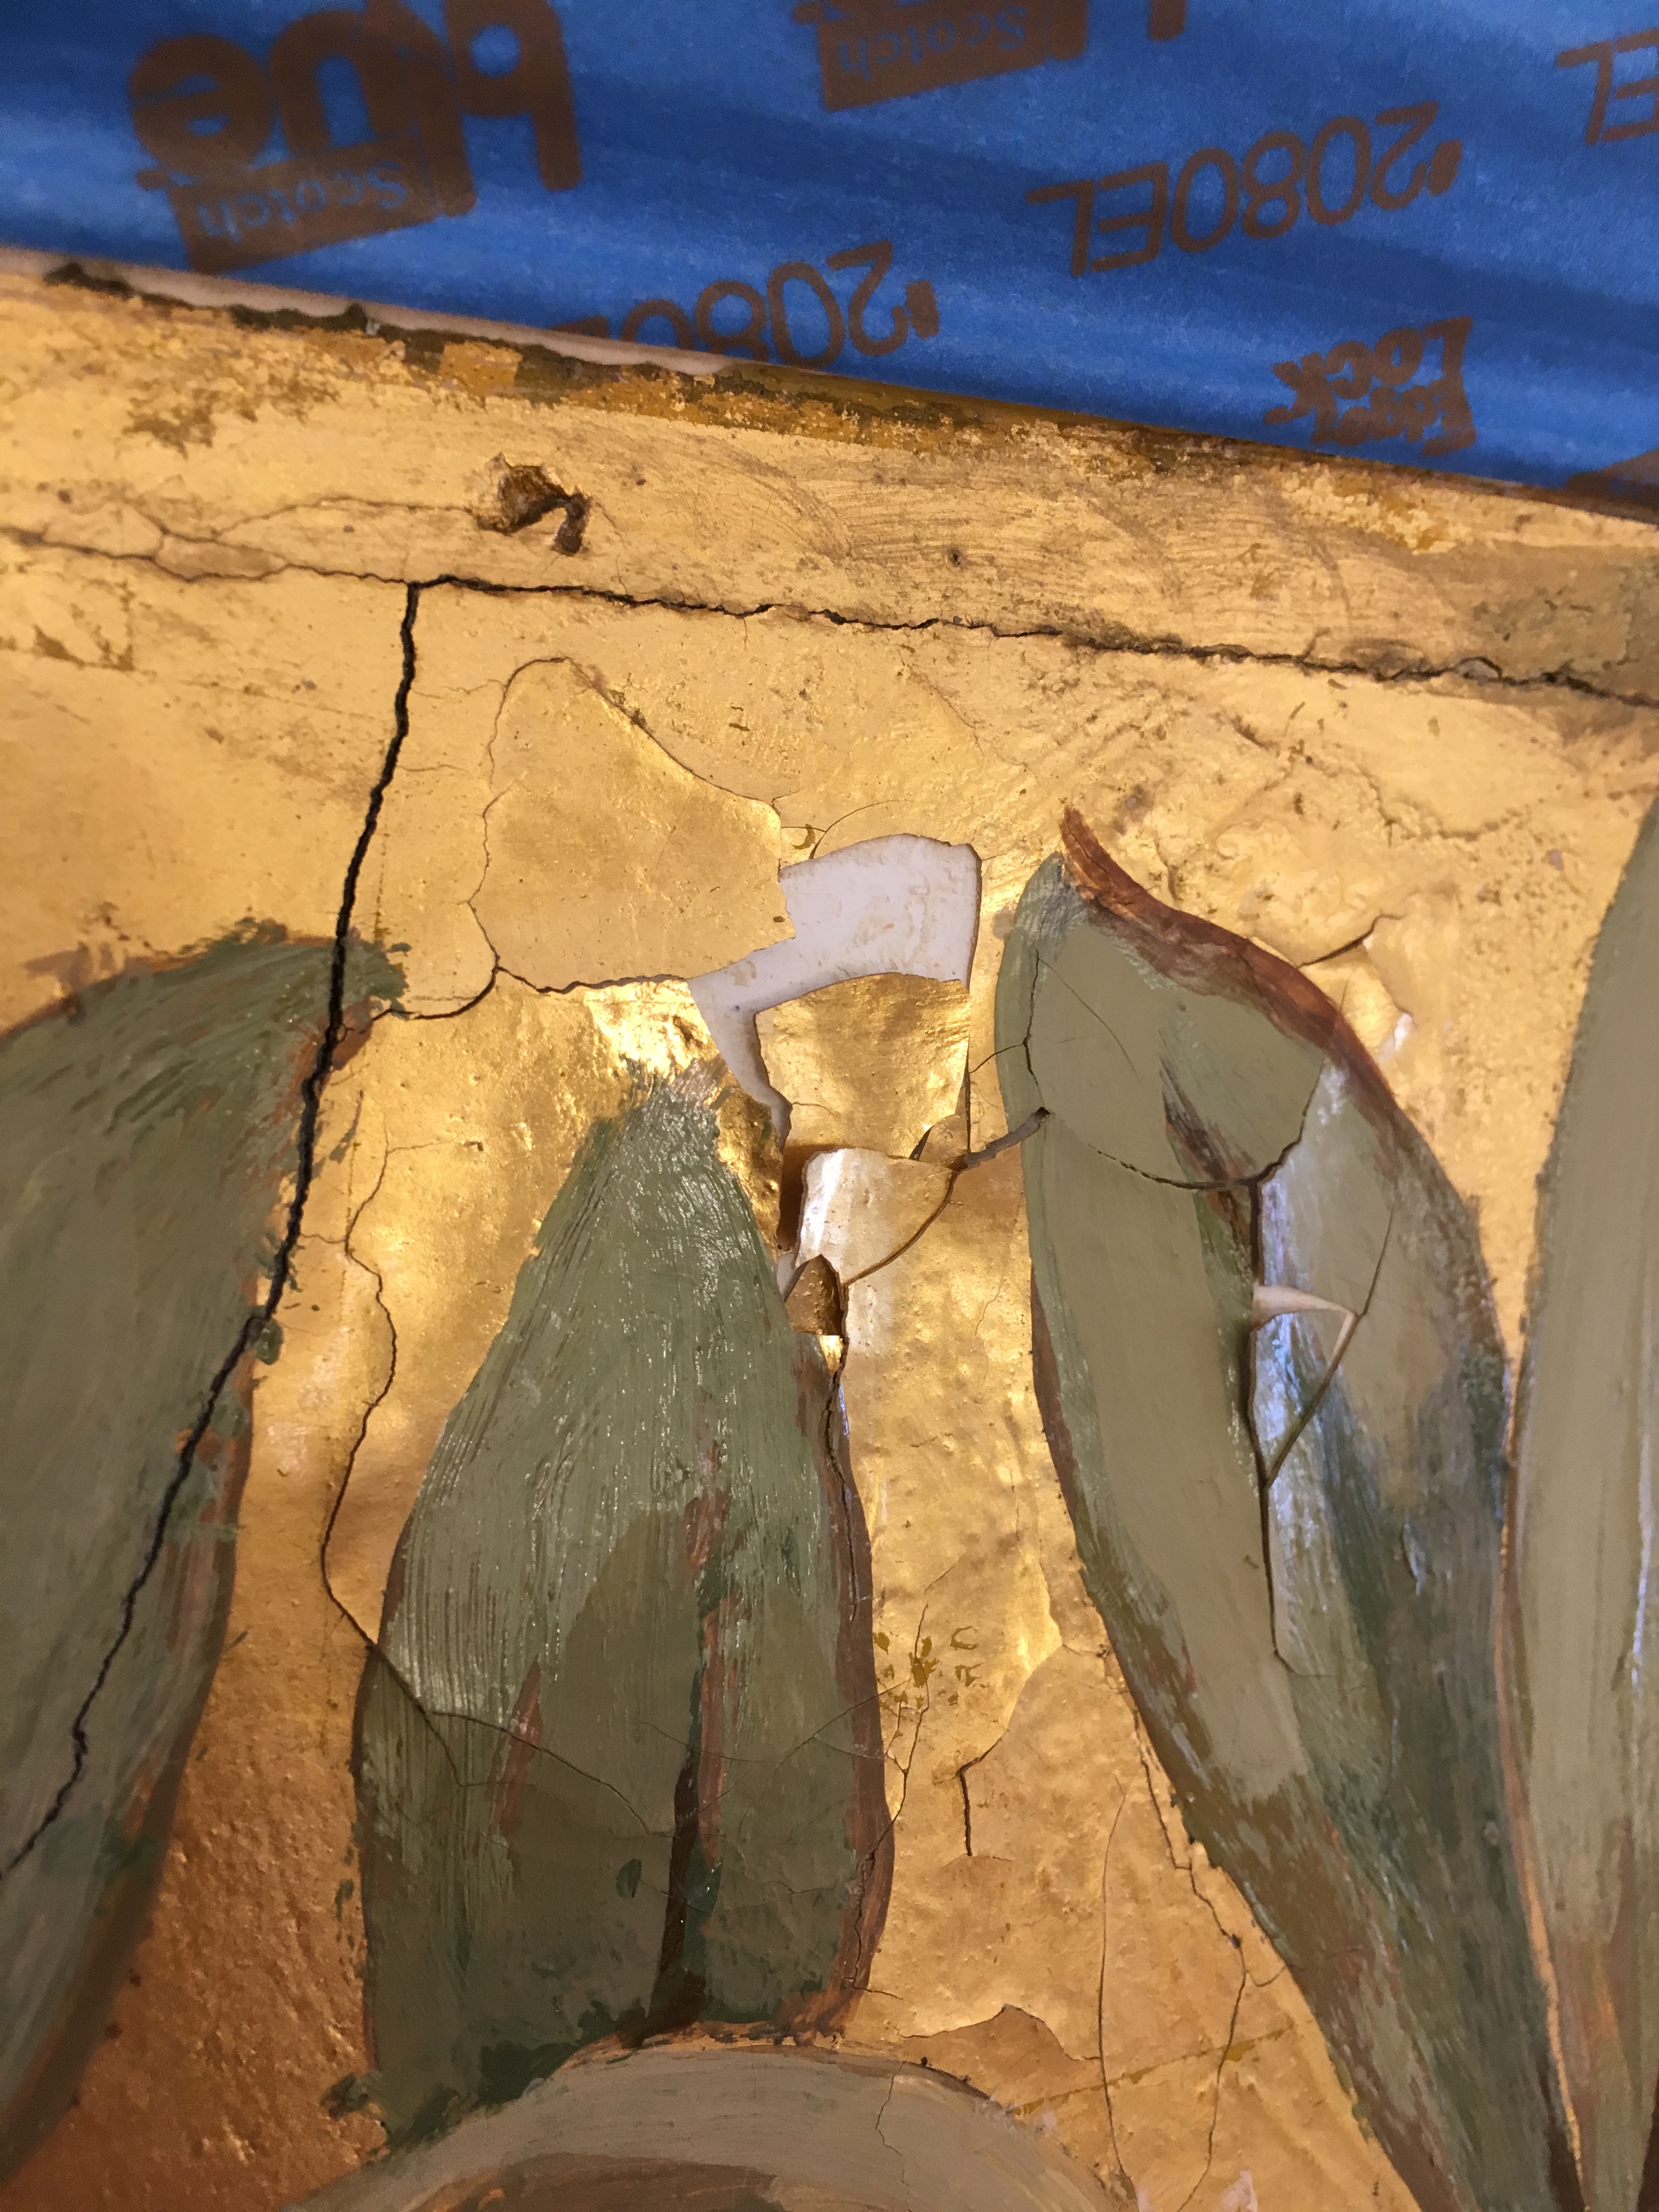
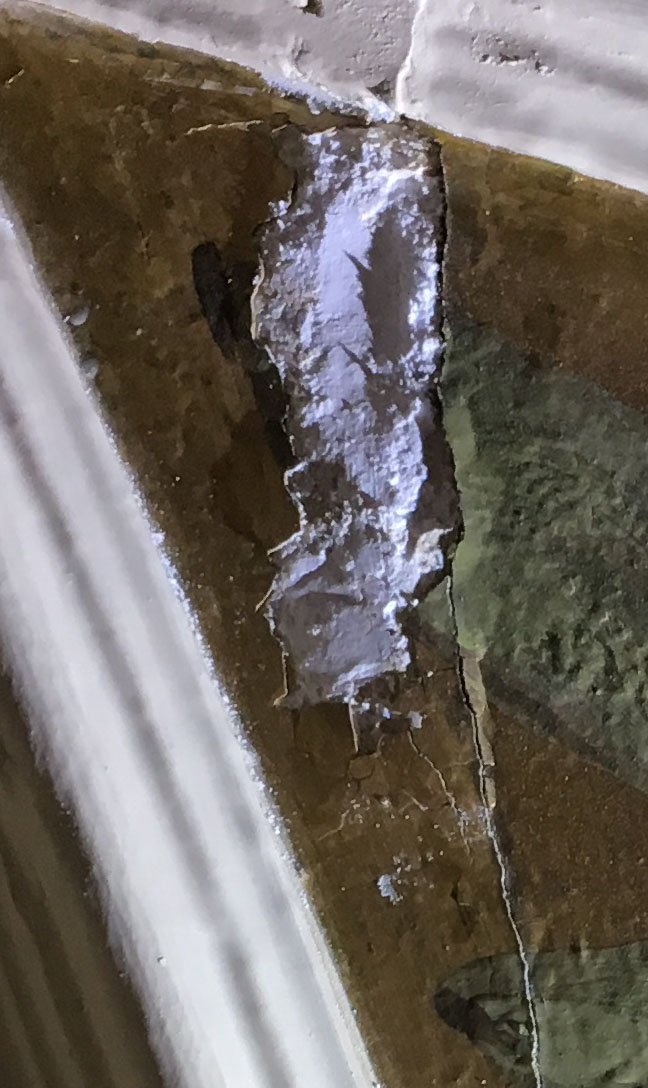
Some of the spandrels, notably the ones on the interior wall, were in fairly good shape. Those on the exterior wall, however, were suffering a variety of forms of degradation. Several of them had extensive areas where the paint was lifting in great flakes, threatening to let go of the underlying plaster completely. Cracks radiating up through the horsehair plaster substrate were visible across some of their faces. A few places had suffered water intrusion from outside and the plaster was puffing up and disintegrating. Recent cosmetic repairs had resulted in a few areas of overpainting or the application of bronze paint. Some of the overpainting was professionally done while some done in tandem with the bronze paint was amateurish.
Each of these problems had to be approached and addressed on its own terms. Where possible, the bronze paint was carefully removed. The areas of disintegration could not be consolidated in any meaningful way, and so they had to be removed and the areas filled level with the original surface. The intent from the outset was to conserve as much of the original materials and surface as possible.
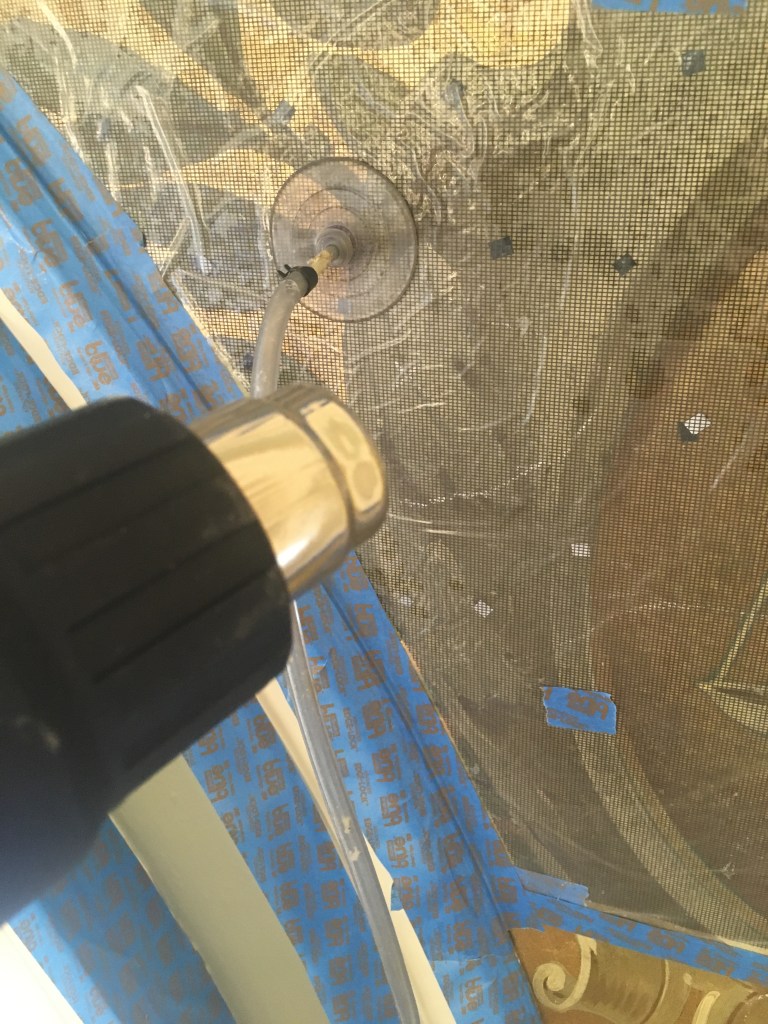
The flaking paint was the most complicated and delicate issue of all, and considerable time and testing went into the final solution. First, a spandrel was taped off from its surrounding architecture to avoid damage. A warm thinned solution of rabbit skin glue and water was sprayed over the flaking areas. This drew itself into the spaces behind the flaking paint and, as it cooled and began to gel, allowed the surface to be pressed somewhat flat swiftly and carefully, resulting in almost no loss of original paint. The choice of this particularly powerful protein based glue stemmed from its swift gelling time as it cooled, as well as its ability to be reactivated by heat further into the process. Once an entire spandrel had been so consolidated pieces of thermal paper were spread strategically over its surface. This paper turns black when it reaches a particular temperature, and was used to ensure I reached a temperature high enough to fully melt the glue, but not so high that I broke down the proteins and reduced its efficacy. The spandrel was then covered with a layer of nylon screening to allow even air flow over the whole surface, then with layer of acetate which was taped around its edges, creating an air seal. Once this was done I took a vacuum pump and connected it to a hole in the face of the acetate. This created a vacuum within the envelope, ensuring atmospheric pressure would keep a firm and constant pressure upon the loose paint flakes, holding them in place. With that pressure constant I began heating the surface of the spandrel with a heat gun, slowly bringing the temperature up until the glue began to melt. Now the pressure on the face of the painting was pushing the loose flakes down into their original position against the plaster, settling them into a thin bed of hide glue which would ensure their proper adhesion. Excess glue flowed outward and was taken in by the vacuum. With a small amount of delicate help from a few soft tools all of the loose paint was resettled and this was allowed to cool under vacuum. This gelled the glue back to holding the flakes firm, and I could subsequently remove the facings and let the spandrel fully cure. Excess glue on the surface was then carefully sponged away with warm water.
The few losses in the paint layer were then filled to match the original surface.
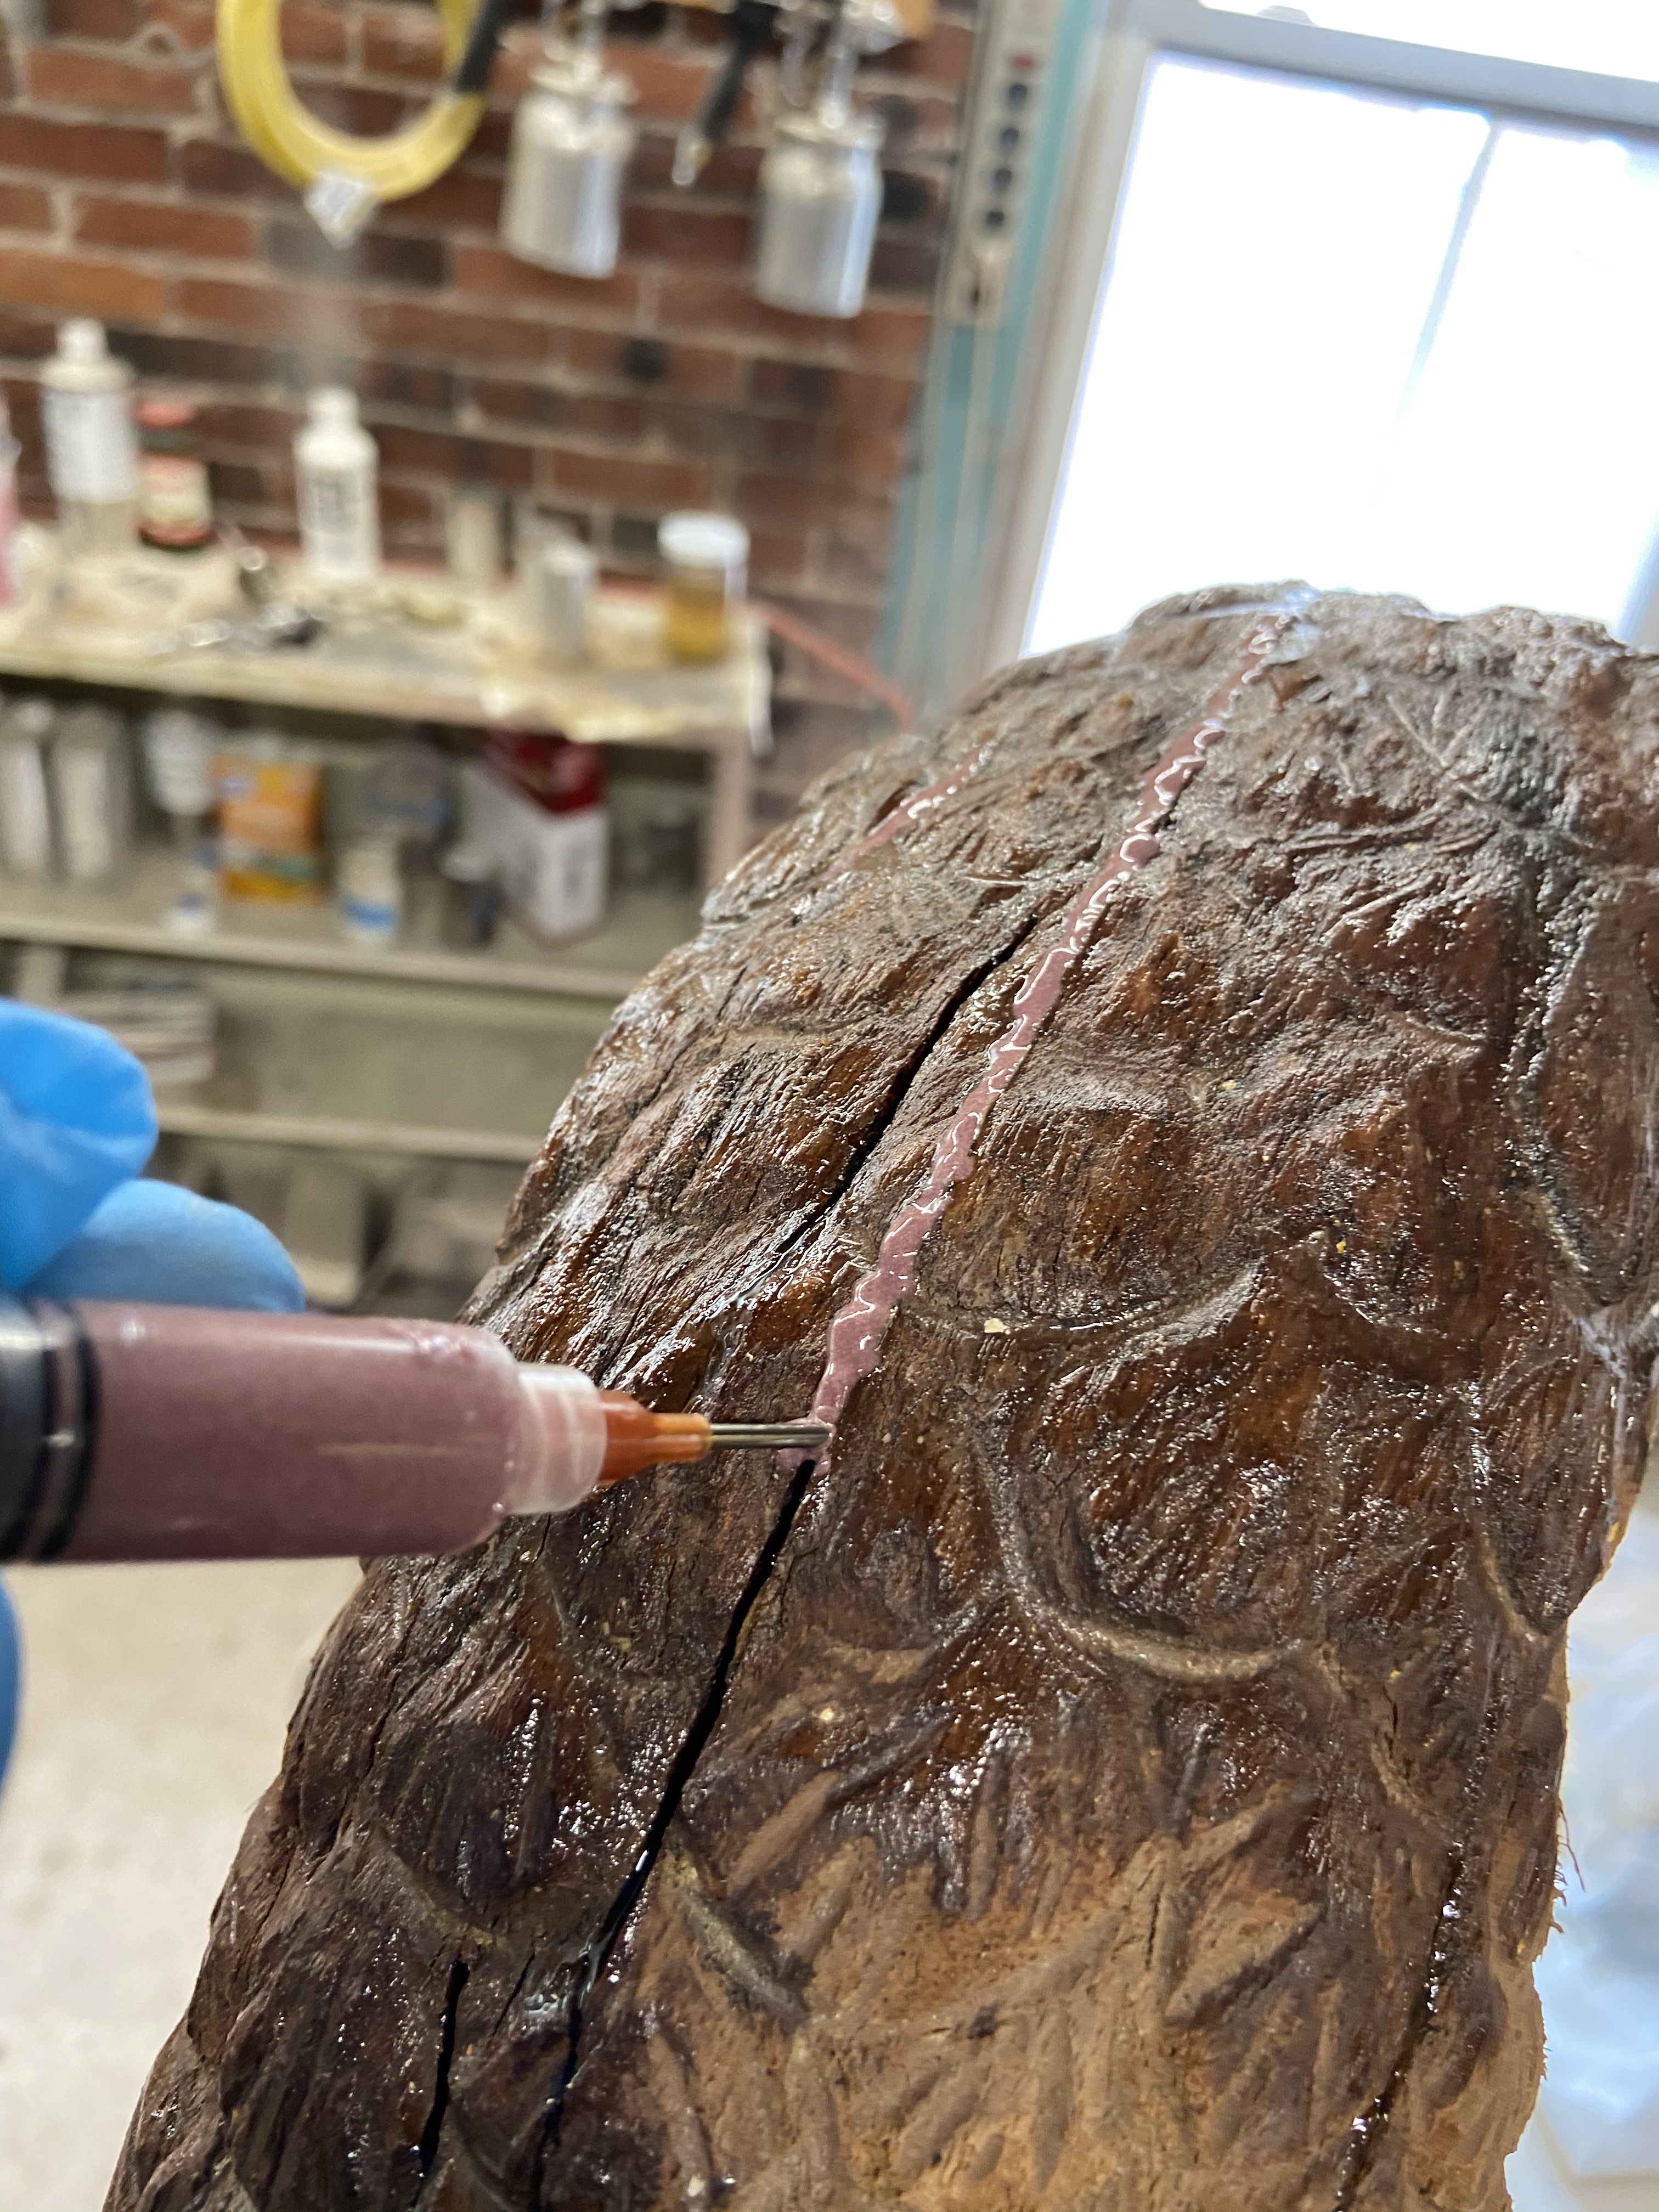
After this the visible cracks were injected with an acrylic filler which would adhere well to the inner surfaces, and have some amount of flex and movement should the cracks continue to evolve or move.
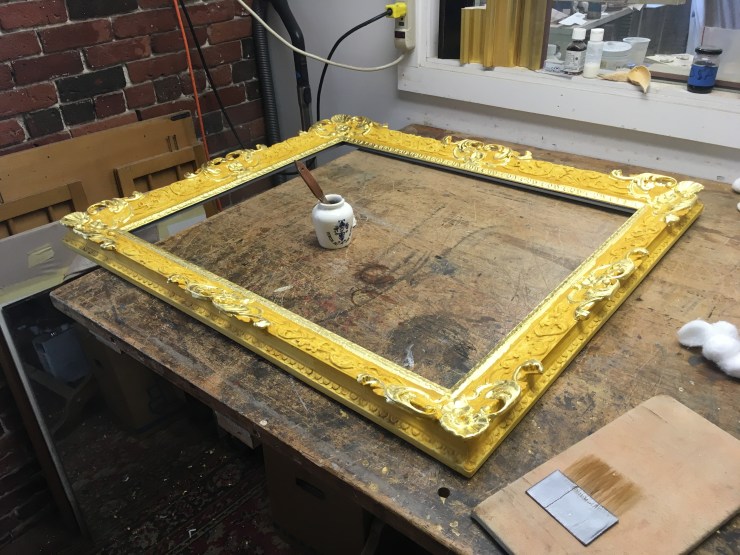
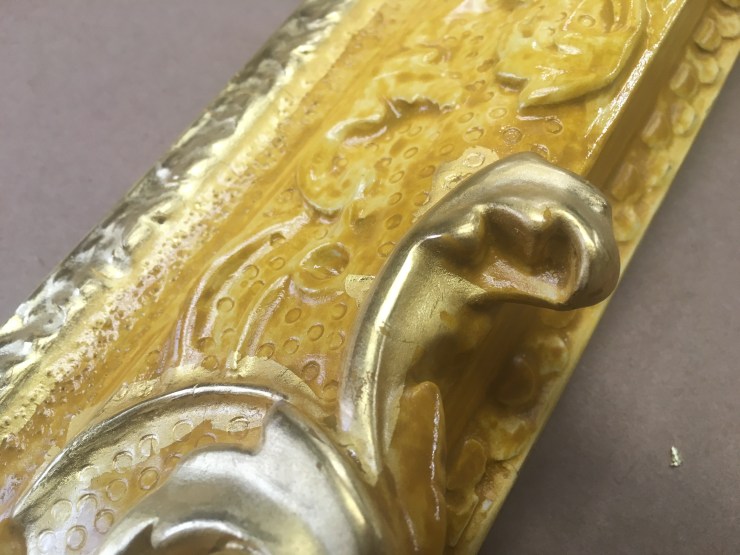
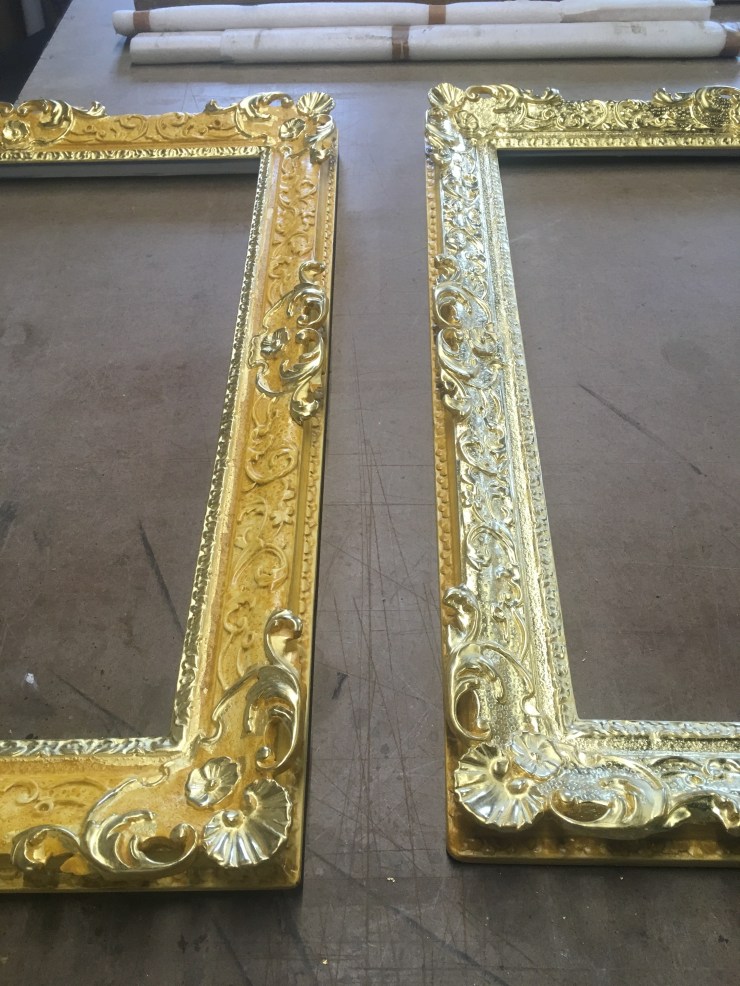
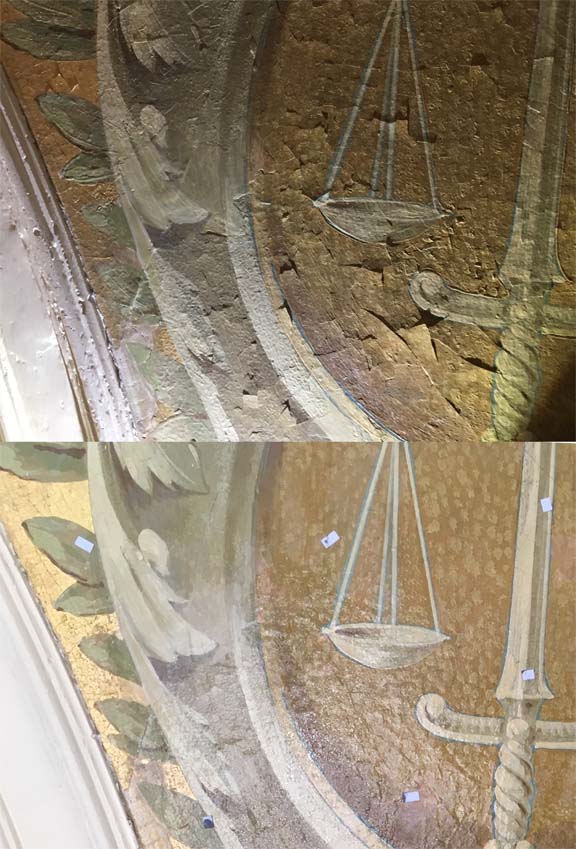
Once all of the spandrels had been so treated I could move on to restoring the gilding and the decorative paint. 23 karat gold was adhered with an oil size over all areas of loss. Oil paints were used to match the motifs wherever loss had occurred.
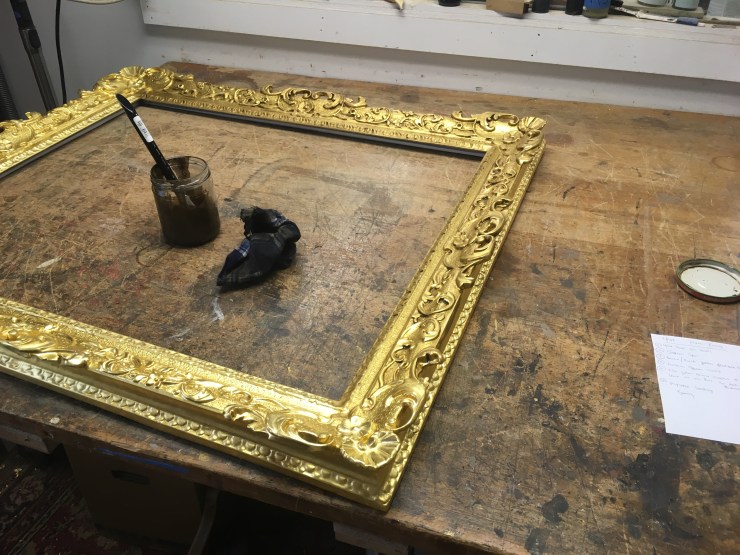
Finally finish was applied in a few thin layers to bring to tone and luster in line with the current look of the original work. Many long hours spent clambering up and down the mobile lift and slowly pulling the old surface back together had paid off. While all things are transitory, this current work should hold for some time.